Adding Two-Factor Authentication (2FA) is an optional but highly recommended security feature. It adds a second layer of protection to your account, ensuring that even if someone steals your password, they cannot access your inbox without a secondary code.
You can choose to receive this code via a Mobile App (Most Secure) or an External Email Address.
Step 1: Navigate to 2FA Settings
Log in to your Webmail account.
Click on Settings (the gear icon) in the menu.
Click on Two-Factor Authentication.
Step 2: Choose Your Method
You will two see options to configure different methods. Choose the one that fits your workflow.
Option A: Authenticator App (Recommended)
Best for: Users who want the highest security and don’t want to rely on another email inbox.
- Enter your password when prompted.
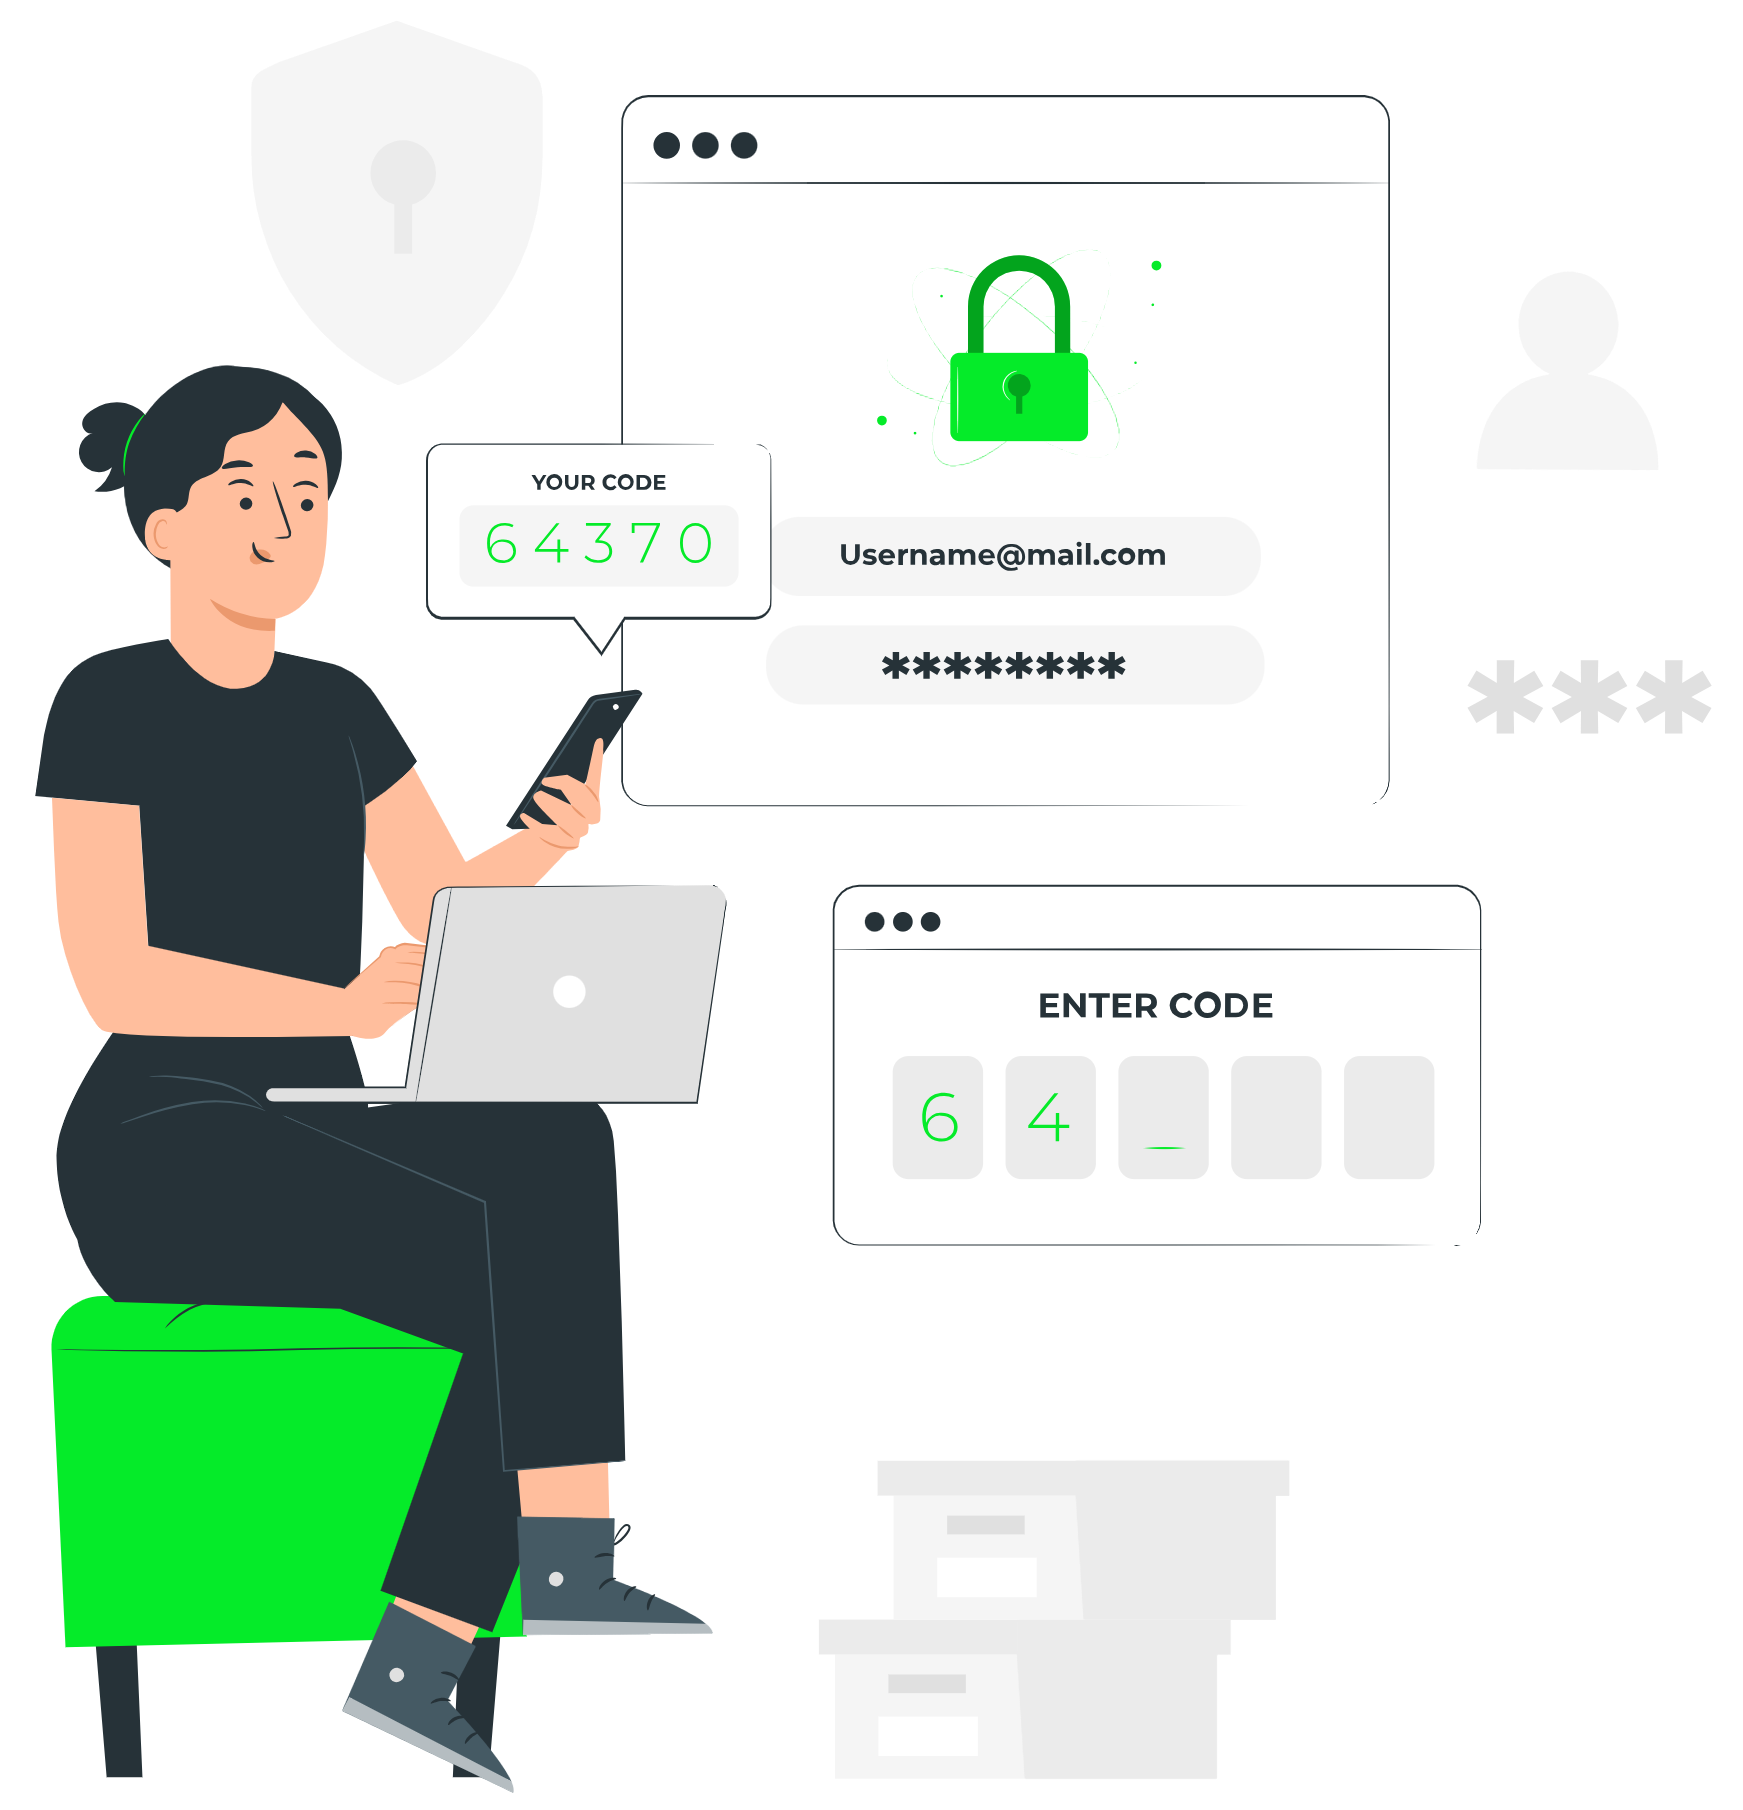
Open your authenticator app (Google Authenticator, Authy, etc.) on your phone.
Select “Scan a QR code” and point your phone’s camera at the barcode on your computer screen.
Your phone will generate a 6-digit code.
Type this code into the “Mobile App Authentication Setup” field and click Finish.
Option B: Email Verification
Best for: Users who do not have a work smartphone or prefer getting codes sent to a personal email.
Enter a separate, external email address (e.g., your personal Gmail or iCloud address).
Click Next.
Check your external email inbox for the verification code.
Enter the code into the “Email Authentication Setup” field and click Finish.
Step 3: Save Your Recovery Codes (Critical)
After activation, the system will give you a list of Recovery Codes.
Action Required: Copy these codes and save them in a safe place (like a password manager).
Why: If you lose your phone or lose access to your backup email, these codes are the only way to log in without contacting support.
Pro Tip: While getting a code via email feels familiar, we strongly suggest using the Authenticator App.